Everyday Mom's Meals: Valentines Day
_____
Showing posts with label Valentines Day. Show all posts

Friday, February 13, 2015

Happy Valentines Day!!

Almost that is. Yep, tomorrow is that one day a year we can set aside to make sure those we love most in the world know it. And before you say it, yes, I realize we shouldn't do this only on the 14th day of February, but instead show those whom mean the most to us, each and every single day just how much. I agree with that. But I also think in the hustle and bustle of life, it's nice to have a little friendly reminder on the calendar. 

I try to make Valentine's Day very special for both of my boys, big and small. It's really a family love fest in our house. That usually means some sort of sweet treat coming out of the kitchen too. And this year, it's one that I know you will love and your little sweethearts are going to be so excited for! In fact, these are so easy, and kid friendly, they could even help you make some tomorrow! 

When I was a child I didn't really enjoy Rice Krispie treats. I can't tell you why. They just weren't my favorite; and yes I was definitely the minority of every single classroom party in elementary school. But that's okay because I'm making up for it now because I can't get enough of them! I am totally addicted! So I figured I could do something super fun, super yummy and super lovable for my little man this year. 

If you are allowed to take homemade treats to your school, these would be great for a classroom party. Or really, any time kids are over! Birthday parties. Sleep overs. The possibilities are endless. And they can be adapted for each holiday so easily. I can't wait to do some in pastel colors for Easter! 

However you're spending the day tomorrow, I hope it's with someone you love. 

Mini Rice Krispie Cupcakes
Makes 36
1 (10 oz.) bag marshmallows
4 TBS. butter
6 1/2 c. Rice Krispie cereal
1 tsp. vanilla
Cooking Spray
Frosting 
Sprinkles

In a medium saucepan, melt marshmallows and butter over LOW heat, stirring constantly. Add cereal to a large mixing bowl. When melted, remove from heat and stir in vanilla. Pour over cereal. Using a silicone spatula sprayed with nonstick spray, stir until combined. Spray a 24 count mini muffin tin generously with nonstick spray. Using your hands, or a cookie scoop, also sprayed, fill each well and pack down. Allow to cool. Remove carefully. Frost and add sprinkles. 


Shared on The Country Cook Feb. 13, 2015


Wednesday, February 13, 2013

I Finally Did It...Just In Time

For a very long time now I have been wanting to try making my own buttercream frosting. See, I have this tiny obsession with good frosting. Cookies and cakes are great, but for me, they are simply a vessel to carry the frosting into my mouth. Yep, I was the kid that would eat the piece of birthday cake and inevitably leave behind cake after all the yummy frosting was gone.

However, I am kind of a frosting snob. I don't like whipped frosting at all. And for me to enjoy a buttercream, it has to be smooth. Those grainy ones you sometimes find on things from the supermarket bakery, well that just makes me mad. It looks great, but the minute I take a bite my sweet tooth is totally disappointed. The canned varieties are okay, and some flavors are even close, but there just isn't anything like the made from scratch, tastes like grandma's, kind.

After reading the recipe that has been collecting dust in the back of my recipe box for years now about 100 times over, I finally convinced myself I could do it. Plus, I had extra motivation. Our local Kroger market has these sugar sandwich cookies that are filled with some of the yummiest frosting I've ever had; and I'm a little addicted to them. I seriously can NOT step into that store without walking out with one. But I'm not there a lot...maybe once every couple weeks...so I needed to be able to sustain in between those visits. (I told you...I'm addicted)

This frosting is so super simple, I honestly felt like saying to myself "Really? That's it?" I can't believe I always thought it would be too involved. Especially now that I have my stand mixer. It literally did all the work for me.

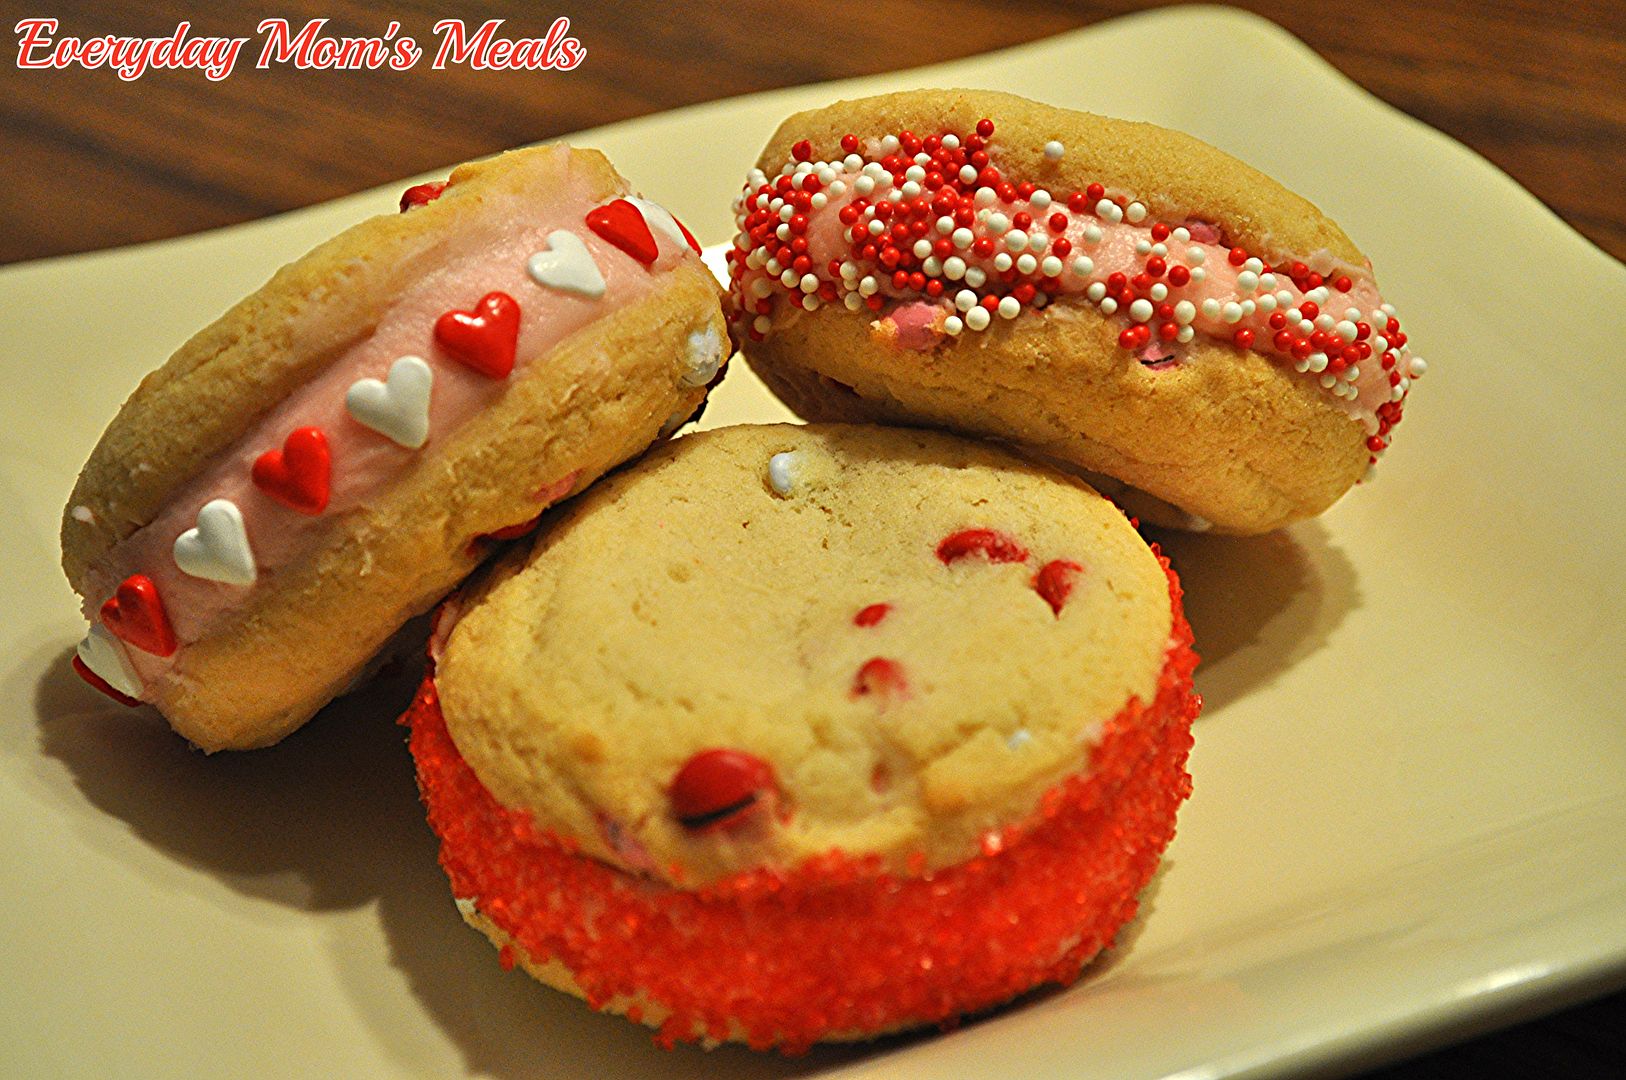
Now this recipe will make enough to frost a 2 layer (8 inches each) cake, about a dozen cupcakes, or about 12-14 of these sandwich cookies. Since I was making the frosting from scratch, I took some help from the store with some cute Valentine's sugar cookies, but feel free to bake your own!

Be warned though. This stuff is dangerous. You will find yourself eating it straight from the bowl with a spoon, it's that delicious! Don't worry though, my lips are sealed....sealed with frosting!

Buttercream Frosting
1/3 c. softened butter
1 lb. powdered sugar
1/4 tsp salt
1 tsp vanilla extract
3-4 TBS milk

Using an electric or stand mixer, cream butter, salt and vanilla together until light and fluffy. Add powdered sugar a little at time, mixing between each. (Don't worry, it's going to appear very thick) Add milk and mix until creamy, and spreadable.

To make cookies, spread frosting onto bottom cookie. Top with another. Gently push down so frosting comes out sides. Using a butter knife, remove excess and smooth. Roll in sprinkles.


Shared on Lady Behind The Curtain Feb. 13, 2013
Shared on Miz Helne's Country Cottage Feb. 14, 2013
Shared on The Country Cook Feb. 15, 2013
Dessert at Very Good Recipes
Pin It

Tuesday, January 22, 2013

Baking With Love

Yep, that's right, I am already thinking about that day of love that is actually quickly approaching! But this year, the first treat I wanted to make that was Valentine's inspired, actually started at Christmas! Let me explain...

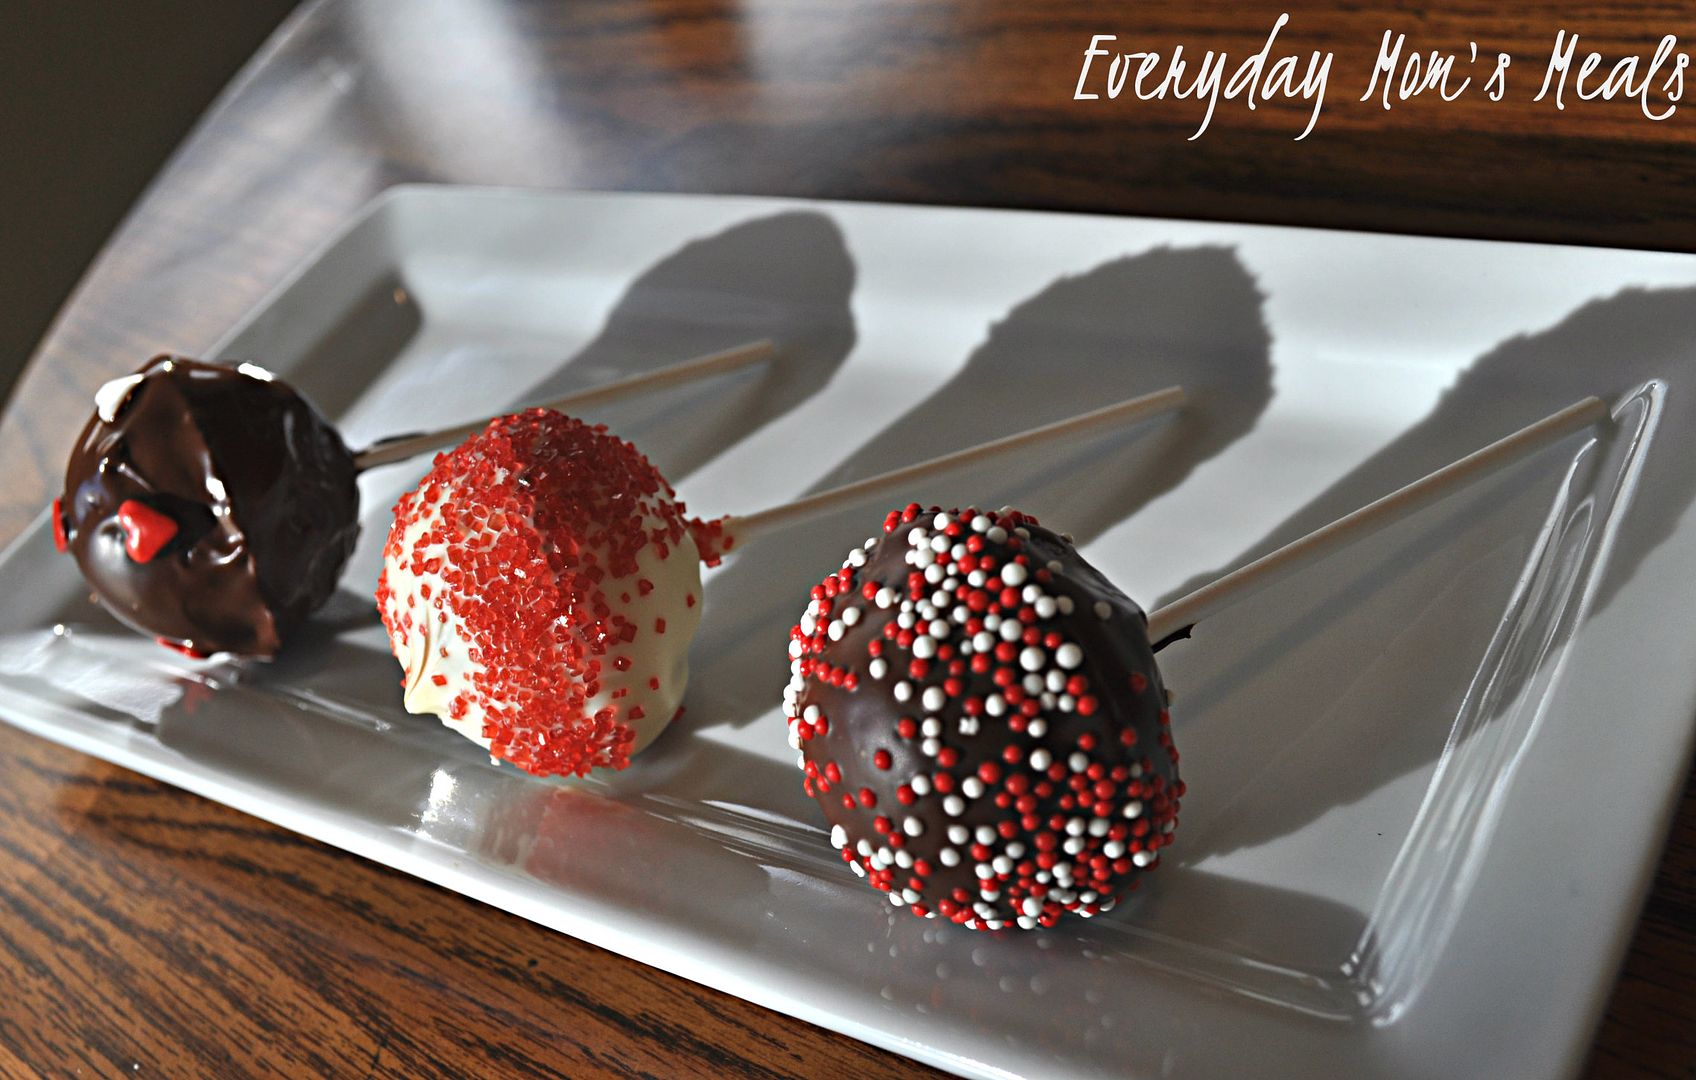
I have been wanting to try my hand at cake pops for a while now. Why? Because I've had them at Starbucks before and I quickly became addicted! So when I spotted a cake pop pan I immediately added it to my  wishlist; and on Christmas morning, Mr. Everyday came through with flying colors. I didn't want a machine to make them, just a simple pan to use in the oven. It's the perfect cake pop helper! I'm telling you, these are no fail! Mix, pour, bake! How much simpler could it be?

These would certainly please any valentine from young to old! Maybe a special after school treat on the festive day! Or, if you are lucky enough to be able to share home made treats with your child's class, these could make you a rock star mom! Or better yet, if your little ones are home with you, making these would be the perfect fun activity for the day!

I love treating my little valentine to something yummy and fun each February 14th, and for me, there is no better definition of "baking with love" than either surprising him with a sweet treat, or having him in the kitchen next to me making one! Plus, we always share with my other "big" valentine too, his Daddy!

Valentines Day is the perfect chance to show all those special people in your life just how much you care about them, and we all know the quickest way to anyone's heart is through their stomach, especially when it includes chocolate!

Fudge Cake Pops Adapted from Nordicware
3/4 c. semi sweet chocolate chips
1/2 c. butter
3/4 c. sugar
2 eggs
3/4 c. flour
1/4 tsp. salt
3 TBS cocoa
8 oz. semi sweet chocolate baking bar
8 oz. white chocolate baking bar
Sprinkles
Cake pop sticks

Preheat oven to 325. Grease cake pop pan. In a small sauce pan over low heat, melt chocolate chips and butter. Stir to combine until smooth. Remove and pour into a large mixing bowl. Add sugar and cocoa. Stir well. Add eggs, one at a time, stirring after each. Add flour and salt. Stir well until combined. Spoon mixture into pan and bake for 25 minutes or until a toothpick in the center comes out clean. Remove from oven, cool in pan for 5 minutes and then remove to cool completely. To melt baking bars, break into small pieces in glass bowls. Microwave for 30 second increments stirring after each until melted. Insert sticks into cake pops. Dip each into melted chocolate, swirling to remove excess. Decorate with various sprinkles.


Shared on Mandy's Recipe Box Jan. 22, 2013
Shared on Hun What's For Dinner Jan. 22, 2013
Shared on The Hopeless Housewife Jan. 23. 2013
Shared on Lady Behind The Curtain Jan. 23. 2013
Shared on Miz Helen's Country Cottage Jan. 24, 2013
Shared on The Country Cook Jan. 25, 2013

Disclaimer: This is NOT a paid endorsement for Nordicware. All thoughts and opinions are mine.

Chocolate at Very Good Recipes
Pin It

Tuesday, February 14, 2012

For My Little Valentine...

Happy Valentines Day!!! I hope however you are spending today (being a Tuesday, I'm sure most of you, like me, are spending at least the day portion at work, school, or home) I hope you get to at least be w/ those you lost most at some point. I know some say Valentines Day is just a ploy from the card, candy and flower industries, and I agree that we shouldn't need a day on the calendar to remind those who mean so much to us just how much we love them; but I don't see anything wrong w/ setting aside one day per year totally dedicated to love. Let's face it, there is so much hatred in the world today, if one day in February everyone gets a little extra love in their hearts, I say more power to us! Ever since Alex was born, Valentines Day has taken on a new meaning for Adam and I. Yes, we still celebrate w/ each other and yes we do buy gifts, and sometimes we even get to sneak away for a date night, but the day itself and the ideas it represents has been turned into a family day. We usually find some way to celebrate as a family the weekend of, or before, and then the day of, Adam and I enjoy giving Alex his treats as much as we do each others. (By the time you read this, Alex will be the proud owner of some cool new Pirates of the Caribbean action figures, Pirate book and a few other treats!) These would make a great after school treat for your little Valentines! Of course, Monkey was able to taste test these last week so that I could bring them to you today, and he would definitely agree that your kiddies would be so excited to have these waiting on them after school. So, Happy Valentines Day~ Take a minute to tell those you love how much your heart sings when they are around, and how you couldn't live without them. No matter how big or small they are!

Cupid Cookies
1 package chocolate cream cookies (Try to find one w/ 3 rows of cookies)
1 (12oz) package white chocolate chips
1 TBS shortening
Red food coloring
Sprinkles

In a glass bowl, combine chocolate chips and shortening. Microwave for 1 minute. Stir to melt. If not melted, heat for 30 seconds more. For the first row of cookies, use white as it. Dip one side of cookie only by angling it towards the chocolate. Let excess drip off. Add sprinkles. Place on parchment lined cookie sheet. For second row, add 3 drops of food coloring to get pink. Continue w/ dipping. The last row, add more coloring until you have a red color. Dip these. After all cookies are dip (or even between colors) place in freezer for 5 minutes to set. Remove and store in air tight container.
*NOTE* These would be great for the kids to help w/ too. Just divide chocolate after microwaving into 3 bowls for white, pink and red. If the chocolate gets too thick while dipping, microwave for another 30 seconds and stir. Keep heating until soft again.

~Join me for Tasty Tuesday on Formula Mom~

Shared on Mandy's Recipe Box Feb. 14, 2012
Shared on Celebrating Family Feb. 14, 2012
Shared on Chef in Training Feb. 14, 2012

Cookies at Very Good Recipes
 Pin It